
Your cart is currently empty!


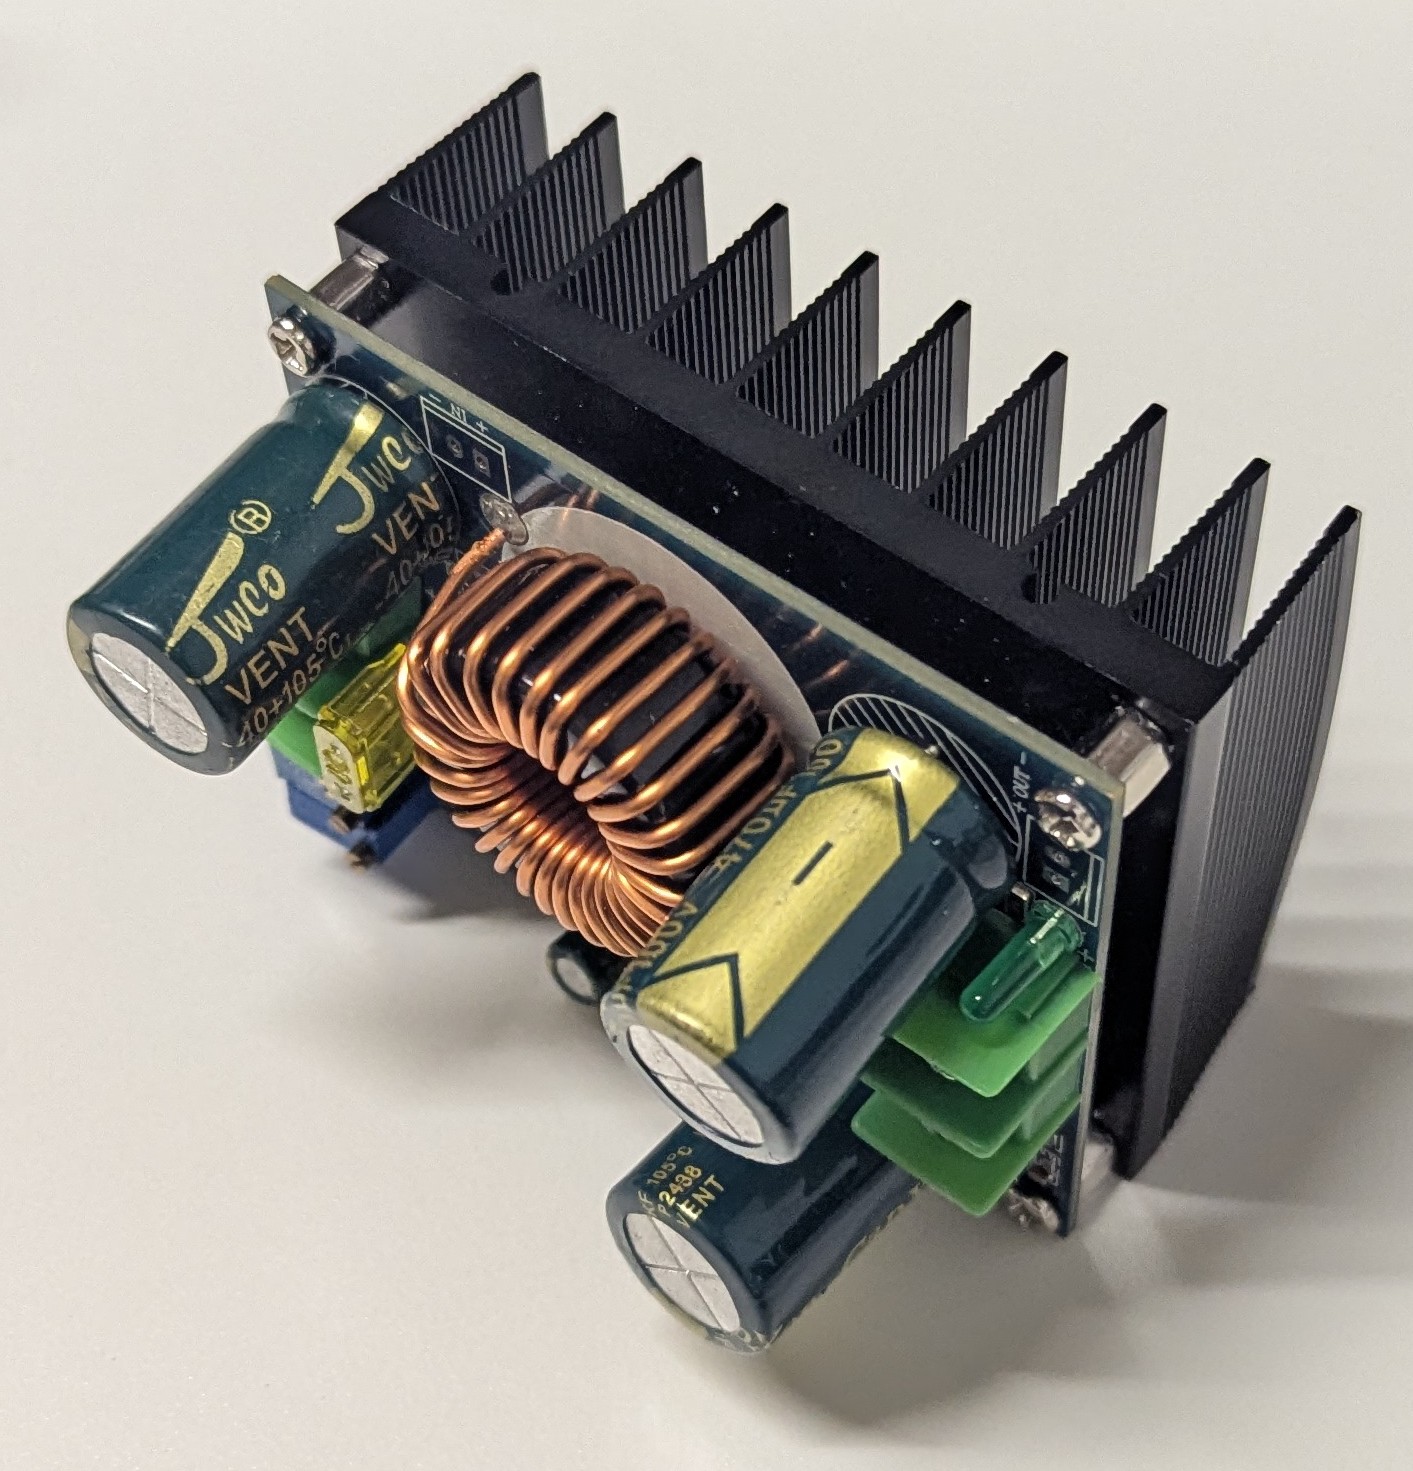
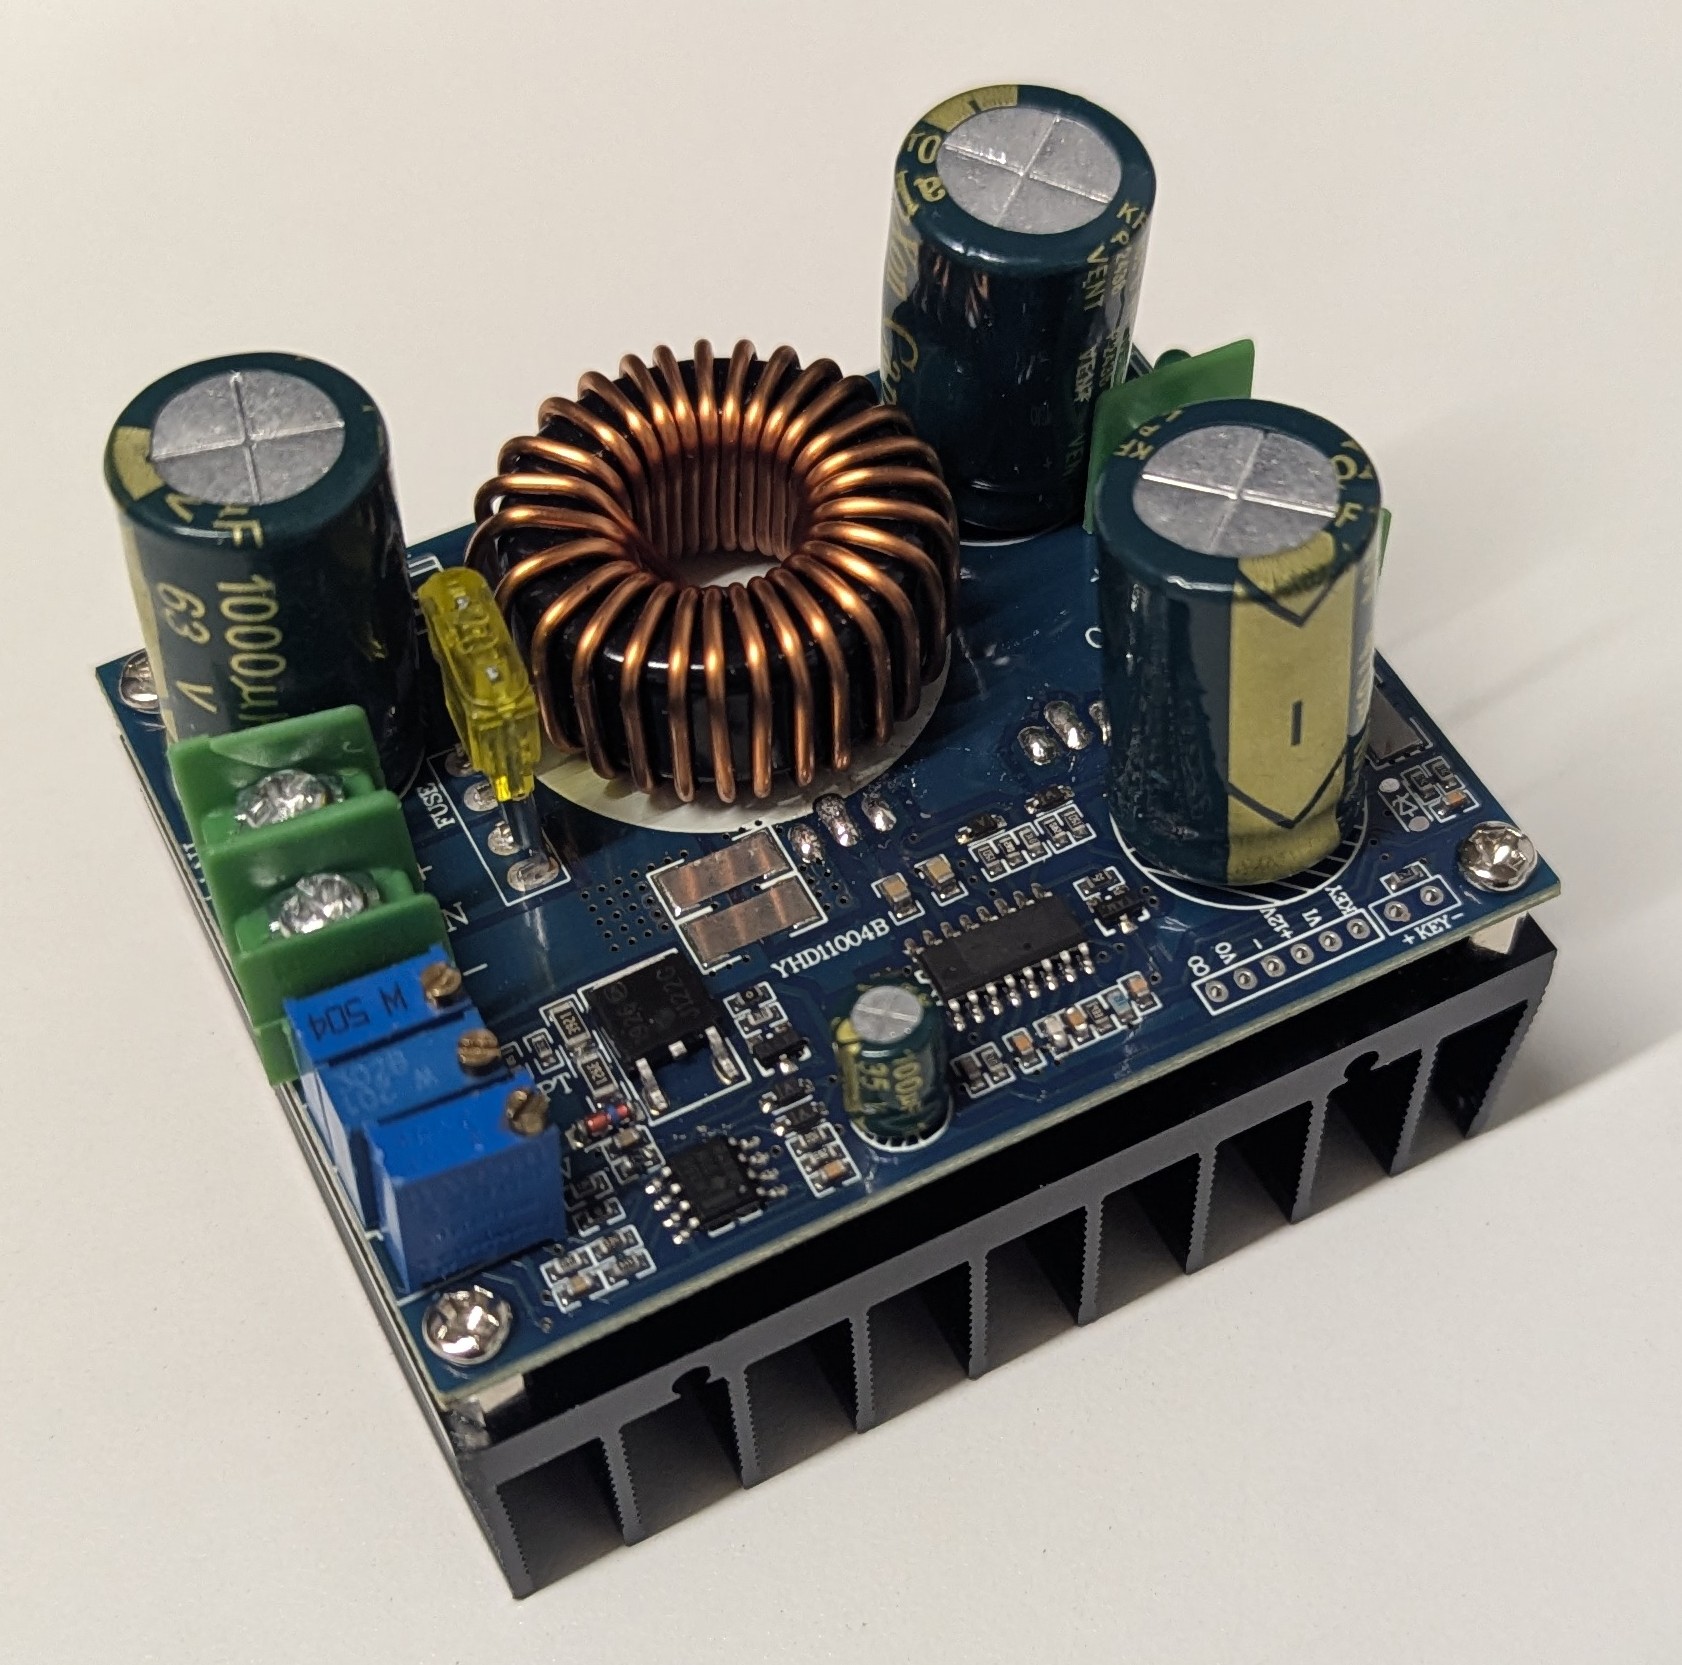
10A Boost MPPT Charger. 10-60v 12A Max Input. 10-85v 10A Adjustable Max Output
$44.00
This amazing little unit is great for small projects and small space solar arrays; particularity when the solar array voltage isn’t high enough to charge your battery by traditional means. Ie. If you have a 48v Battery bank, but only a “24v panel” putting out about 36v-45v, most MPPTs and PWMs will not charge the battery.
This unit however, will boost the voltage to the desired level and regulate the charge to the battery bank.
Suitable for solar banks up to 600W Max. and a maximum charging rate of 10A
Warehouse WA: 0
Welshpool WA: 10
Description
MPPT boost charging module parameters;
- Maximum power used by solar panel: <600W
- Input voltage: DC10-60V
- Input current: 12A MAX
- Output voltage: DC10-85V stepless adjustable
- Output current: 0.2-10A stepless adjustable (the greater the output current, the greater the heating.)
- MPPT voltage adjustable range: 10-60V stepless adjustable
- Operating frequency: 200KHz
- Working efficiency: the highest 94% efficiency is related to input and output voltage and working current.
- Applicable battery type: battery, polymer battery, lithium iron, etc. (adjust the output voltage and charging current according to the battery)
- Anti reverse connection protection: None
- Output anti backflow: Yes
- Short circuit protection: 15A fuse on the input side. (do not short circuit the unit!)
- Working temperature: – 20~+85 ℃ (consider adding a cooling fan for optimal operation)
- Overall dimension: 76 * 60 * 56mm
- Weight: 210g
MPPT boost charging module adjustment steps;
- The input is connected to the solar panel or PV array and does not exceed the rated specifications.
- Ensure there is no battery or loads connected to the output of the module, and connect a multimeter set to read DC voltage.
- Adjust the CV potentiometer until the desired dc voltage output is reached.
Note: If the module does not increase the voltage, first adjust the MPPT potentiometer clockwise for 20 turns and then re-adjust the output voltage. - Connect the battery to the output terminal of the module
- Connect the multimeter voltage to the input terminal of the module,
- Adjust the MPPT potentiometer until the voltage displayed on the multimeter is close to the maximum power point voltage (Vmp) of the solar panel.
- Refer to the maximum power point voltage (Vmp) on the label behind the solar panel.
Generally, a little lower than the marked voltage can obtain a higher charging current.
For example, some MPPTs set the value of the 18V board at 16-17V, resulting in a higher current.
It is possible with an ammeter in series to adjust the MPPT potentiometer to find the charging current at the maximum point.
- Refer to the maximum power point voltage (Vmp) on the label behind the solar panel.
If you need to use a small current for charging (for example, the solar panel power is relatively large, and The battery capacity is small).
- When the solar array has a chance to produce its’ maximum power, connect the multimeter set to DC Current in Series between the output of the MPPT charger and the battery, and adjust the CC potentiometer to the required current.
Notes:
- The potentiometer for parameter adjustment is multi turn, and there are 28 turns from the minimum value to the maximum value.
- Turning beyond this number of turns could risk damage to the unit. Stop if you feel any resistance.
- The voltage or current increases when it is adjusted clockwise, and decreases when it is adjusted counterclockwise.
- If the output voltage of the charger cannot be adjusted whilst the solar array is under the sun, the battery has no charging current.
- Please adjust the MPPT potentiometer clockwise for more than 20 turns before repeating step 3.
- The input of the MPPT charging module can be connected to battery or switching power supply for charging or to be used as boost module
- Please adjust the CC potentiometer accordingly based on the output voltage. This is to limit the output current to prevent the use of excessive power and heat which could lead to the charger overheating or causing damage.
Additional information
| Weight | 0.250000 kg |
|---|---|
| Dimensions | 8 × 6 × 6 cm |